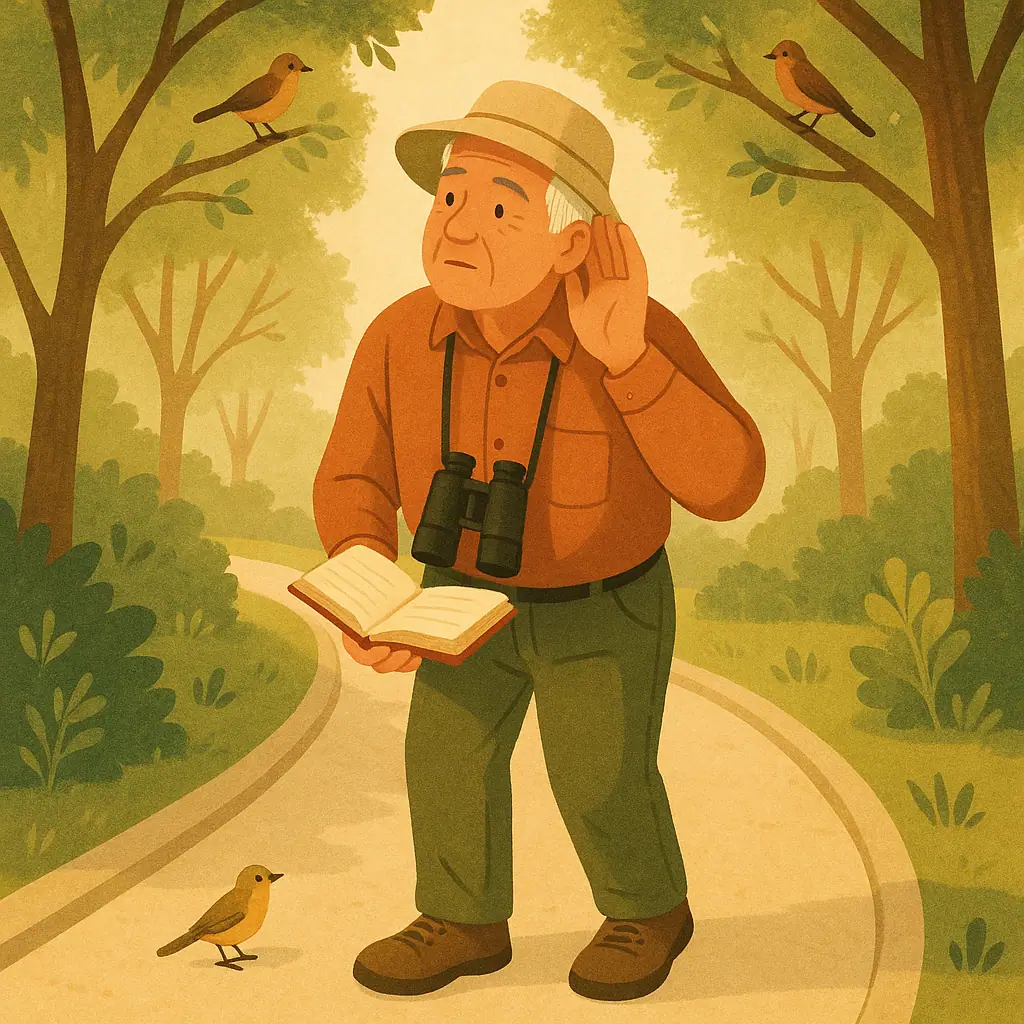
Birding by ear for beginners can feel mysterious at first, especially on a leafy trail where every sound seems to come from somewhere else. The good news is that you do not need to name every singer right away. You only need a slow route, a few quiet stops, and a way to notice sounds without hurrying after them.
Think of this as a gentle listening walk rather than a test. You are learning where sounds come from, how often they repeat, and how they change as you move. That habit pairs beautifully with visual birdwatching because your ears often notice a bird before your eyes ever find it.
Why This Matters
Many beginners feel left behind when experienced birders say, "I hear a chickadee," or "That was a wren," before anyone else sees movement. Birding by ear for beginners removes some of that pressure by making the first goal much smaller: listen, locate, compare, and confirm later.
This matters because birds are often hidden by leaves, distance, glare, or motion. Sound gives you another doorway into the same calm hobby. The National Audubon Society's bird education and conservation resources are a useful place to keep learning because they connect bird observation with careful, respectful attention to real birds and habitat.
After you have one trustworthy outside reference, return to the trail itself. Let the next sound happen before you reach for a name. A short pause between hearing and deciding helps you avoid turning a peaceful walk into a guessing game.
Start With an Easy Beyond-the-Backyard Route
Choose a trail that lets you stop safely without blocking others. A paved loop, boardwalk, nature center path, or short park trail is better than a steep route where you have to watch every step. If comfort is a concern, the ideas in How to Find Birding Trails That Are Easy on the Knees can help you choose a place with benches, shade, and simple exits.
Once you arrive, resist the urge to cover a lot of ground. Bird sounds are easier to compare when you spend several minutes in one place. If a sound repeats three or four times, your brain gets a much better chance to remember it.
Pick three listening stops
Before you start, choose three simple stops: the trailhead, a shady edge, and a quiet bench or overlook. This gives your walk a soft structure. At each stop, stand or sit still for one full minute before trying to identify anything.
Use the same route twice
A familiar route is a gift when you are learning by ear. The second visit lets you notice what sounds are consistent and what is new. That is why a simple trail often teaches more than a dramatic one.
Use a Four-Part Listening Habit
The easiest field method is to sort each sound into four plain clues. You are not trying to write music. You are giving yourself enough detail to compare the sound later.
- Pattern: Is it one note, a repeated phrase, a trill, a buzz, or a rising whistle?
- Direction: Does it seem to come from ahead, behind, high in the trees, or low in shrubs?
- Distance: Does it sound close and sharp, or soft and far away?
- Timing: Does the bird repeat every few seconds, call once, or answer another bird?
If you enjoy a slower style of observation, you may also like The Joy of Slow Birding: Mindfulness in Nature. Give yourself a paragraph or two of practice before following another link or opening an app, because the real skill grows in those quiet seconds of attention.
Make Simple Notes Without Chasing Every Bird
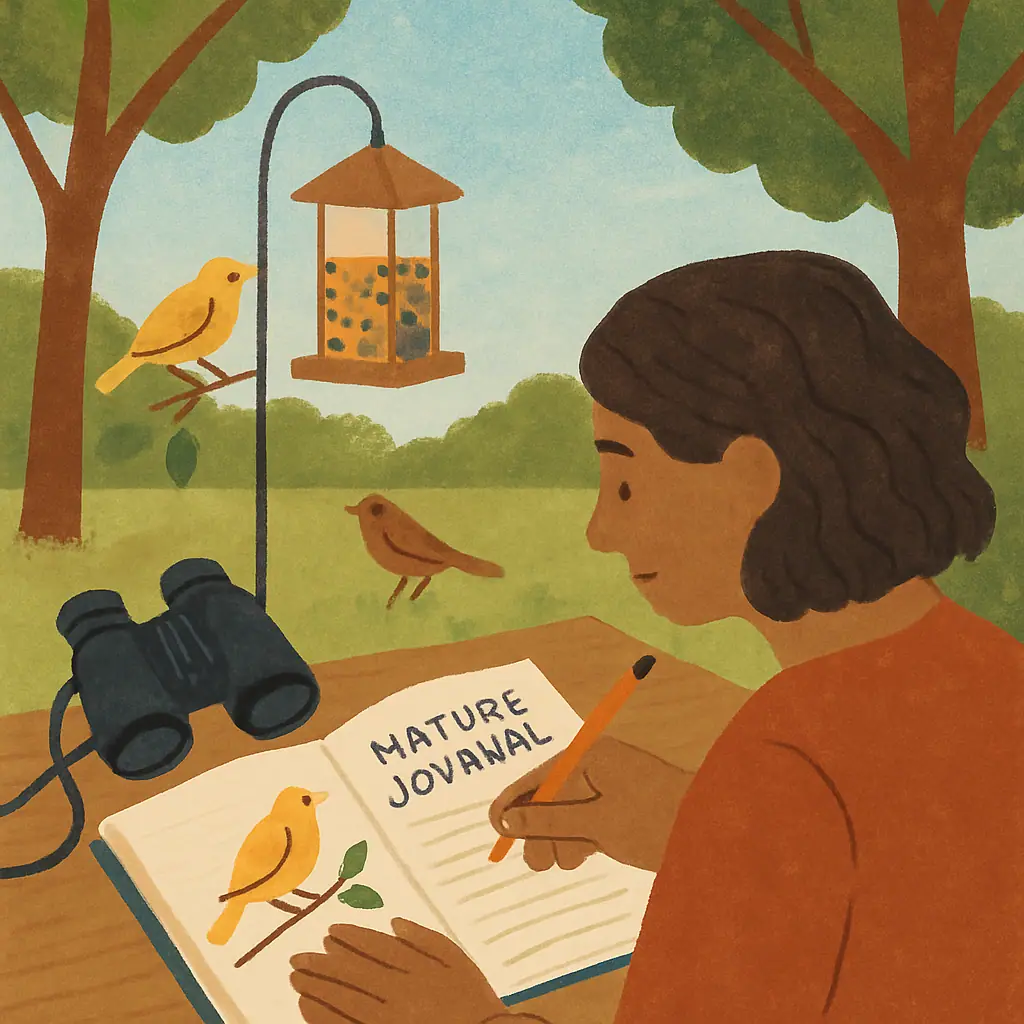
A small notebook can make birding by ear for beginners feel grounded. Write down sounds in everyday language: "sweet-sweet-sweet," "scratchy trill," "two clear whistles," or "fast chatter from low brush." Your description does not need to be perfect. It only needs to bring the sound back to mind.
Try pairing each sound note with one visual clue from the place where you heard it. Was the sound near a wet area, a fence line, a pine tree, a meadow edge, or a thicket? Habitat clues often help later, especially when two birds sound similar to a beginner.
For readers who like recording details gently, Starting a Nature Journal: Recording Your Bird Discoveries offers a relaxed way to build memory without making the hobby feel like homework.
Compare Sounds Only After You Pause
Sound ID tools and recordings can be helpful, but they work best after you have listened with your own ears first. Pause, note the pattern, and look for the bird if it is easy to do without disturbing it. Then compare your notes with a trusted guide, app, or bird education source.
This order keeps technology in a supporting role. It also helps you notice behavior: a bird singing from the top of a tree may be doing something different from a bird giving short calls from dense cover. Do not worry if you cannot confirm the sound every time. Unconfirmed notes are still useful practice.
Respect Birds While Listening
Birding by ear should make you calmer around birds, not more intrusive. Stay on the trail, keep your voice low, and avoid playing bird songs loudly to draw birds closer. If a bird goes silent, flicks away repeatedly, or gives sharp alarm calls, give it more space.
This is especially important during nesting season. Do not approach nests, trim active nesting areas, or linger in a way that makes adult birds hesitate to return. A respectful distance protects the birds and gives you a more natural soundscape to enjoy.
Pros and Cons of Learning by Ear First
You notice hidden birds sooner
Listening helps you become aware of birds that are behind leaves, around a bend, or too far away to see clearly.
It slows the walk in a good way
Short listening stops turn a trail into a series of calm observations instead of a rush to cover distance.
It builds confidence over time
Repeated sounds become familiar, and familiar sounds are much easier to confirm with a guide or app later.
Several birds can overlap
A busy morning chorus may feel confusing until you choose one repeated sound at a time.
Some sounds need later confirmation
Beginner notes are useful, but similar species may require a trusted recording, guide, or experienced birder to confirm.
A Simple Checklist
Use this short checklist before and during your first easy trail listening walk.
- Choose comfort first: Pick a route with safe footing, shade, and places to pause.
- Listen before naming: Give each sound time to repeat before reaching for an identification.
- Track one sound: Follow a single repeated song or call instead of trying to sort the whole chorus.
- Write plain clues: Note pattern, direction, distance, and timing in your own words.
- Confirm gently: Compare notes with a trusted source after you have listened for yourself.
When to Get Extra Help
Ask for help when a sound keeps puzzling you, when two possible birds seem equally likely, or when you want to learn a local species well. A nature center volunteer, bird club walk leader, or patient friend can often explain what they heard and why.
If you are planning a shared outing, How to Plan a Gentle Birding Morning with a Friend can help you keep the pace relaxed. A little company can make listening easier because one person may hear direction while the other notices movement.
Frequently Asked Questions
Is birding by ear for beginners too hard to start on a trail?
No. Start with one easy trail, one repeated sound, and one minute of stillness at a time. You do not need to identify every bird to benefit from the practice.
Should I use a bird sound app right away?
You can use one, but listen first. Make a quick note about the sound, direction, and habitat, then use the app or a trusted guide to compare your observation.
What if several birds are singing at once?
Choose one sound that repeats clearly and ignore the rest for a moment. Following one voice is easier than trying to understand the whole morning chorus.
How long should my first listening walk be?
Twenty to thirty relaxed minutes is plenty. Three slow stops on a short route will teach more than a long walk where you never pause.
Final Thoughts
A gentle introduction to birding by ear is really an invitation to slow down. Let the easy trail carry you from one listening stop to the next. Notice a pattern, write one clue, and allow some sounds to remain unnamed until later.
Over time, the familiar voices of a trail begin to feel like landmarks. You may still bring binoculars, a field guide, or an app, but your first tool is simpler than all of them: a quiet minute, repeated often.