A bird sightings board can feel exciting and a little confusing at the same time. You walk into a nature center, see a list of birds other visitors have reported, and suddenly the day seems full of possibilities.
The trick is remembering that a bird sightings board is not a promise. It is a helpful clue sheet. Used gently, it can help you choose a route, ask better questions, and notice more birds without turning your visit into a race.
This guide shows you how to read the board with calm expectations, especially if you prefer easy trails, benches, short loops, or a slower pace. A good visit is not measured by seeing every bird on the list. It is measured by leaving with a few real observations and a little more confidence than you arrived with.
Why a Bird Sightings Board Matters
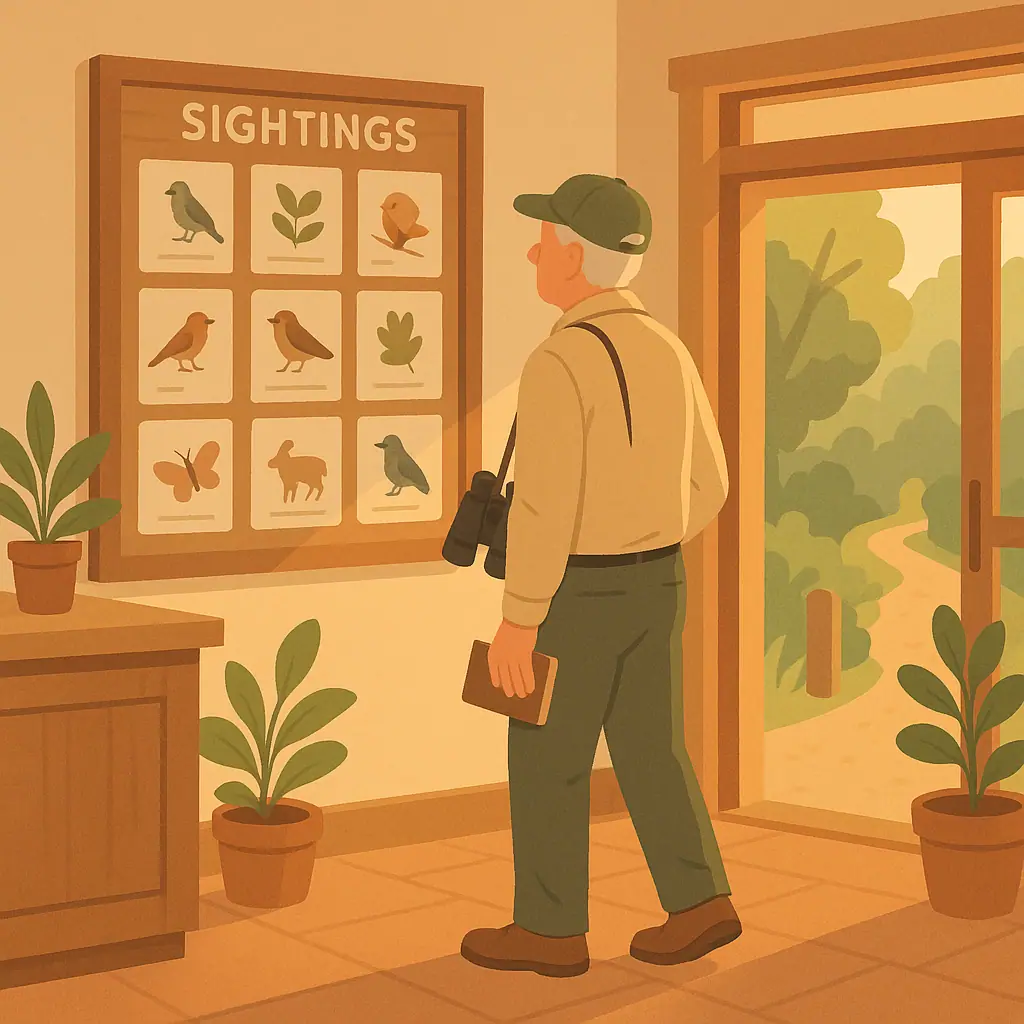
Most sightings boards are simple community records. Staff, volunteers, or visitors note what they saw recently, where they saw it, and sometimes what habitat the bird was using. That small bit of information can save you from wandering randomly.
The Cornell Lab of Ornithology is a trusted bird education source and connects everyday birdwatchers with tools like eBird for recording and exploring observations. A nature center board works in a similar beginner-friendly spirit: it turns scattered bird activity into a shared starting point.
The board helps you choose a first direction
If several birds are listed near the pond, meadow, or boardwalk, that gives you a sensible first stop. You are no longer guessing where to begin.
The board also helps you ask better questions
Instead of asking, "Where are the birds?" you can ask a volunteer, "Is the pond loop still a good place to look for the herons listed this morning?" That kind of question is easier to answer.
Start With Recency Before Rarity
Beginners often notice the rarest or most colorful name first. That is understandable, but recency matters more. A common bird reported this morning may be easier to find than a rare bird reported last week.
Look for dates, times, or words like "today," "yesterday," or "this week." If the board does not show dates clearly, ask staff whether the notes are current. Keep the question simple and friendly.
- Same-day sightings: useful for choosing your first route, especially if weather has stayed similar.
- Yesterday's sightings: still worth considering, but expect movement and change.
- Older sightings: interesting for learning, but less reliable for planning today's walk.
- Repeated sightings: a bird listed several days in a row may be using a regular feeding or resting area.
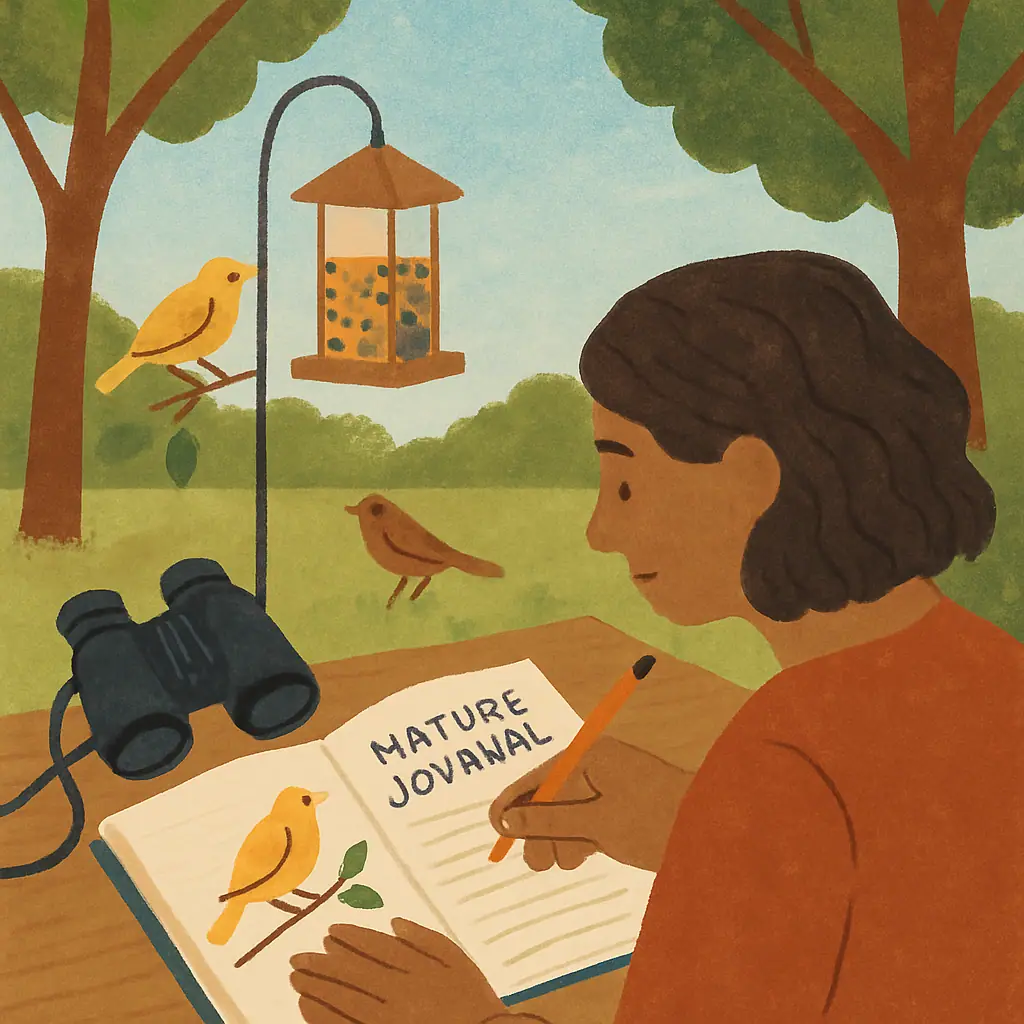
If you enjoy recording what you saw, BirdPeep's guide to starting a nature journal pairs nicely with a sightings board. The board gives you clues before the walk; your notes preserve what you actually noticed afterward.
Match Each Bird to a Habitat
A useful board usually tells you more than a bird name. It may mention a marsh, pond, meadow, woodland edge, feeder area, or visitor center trail. That habitat clue is often the most practical part.
For example, a warbler noted along a wooded edge points you toward shrubs and tree lines. A duck or heron points you toward water. A sparrow may send you toward meadow edges or weedy patches. You do not need to know every species perfectly. Just let the habitat narrow your choices.
Use landmarks instead of long distances
For a comfortable visit, landmarks are easier than mileage. "Near the first bench after the bridge" is more useful than "about three quarters of a mile in" if you are trying to pace yourself.
Notice whether the route fits your body today
If the board points to a steep trail, muddy path, or long loop, it is fine to choose a gentler option. Seeing fewer birds comfortably is better than overdoing it.
Build a Realistic Route from the Board
Once you have read the newest notes, choose one or two target areas. That is enough. A calm route might include the visitor center feeders, a short boardwalk, and one bench near water.
If you are planning a slightly longer outing, BirdPeep's article on finding birding trails that are easy on the knees can help you think through benches, shade, surfaces, and turnaround points before you commit to a route.
- Pick one main habitat: water, meadow, woods, or feeder area.
- Choose one backup stop: a bench, overlook, or short side path if the first area is quiet.
- Set a time limit: decide when you will turn back before you feel tired.
- Watch common birds too: they teach movement, shape, and behavior just as well as rare birds.
- Leave room for surprise: the bird you enjoy most may not be on the board at all.
Pros and Cons of Using a Sightings Board
Gives your visit a gentle focus
A short list of recent birds can help you choose where to begin instead of feeling overwhelmed by every possible trail.
Connects you with local knowledge
Staff and regular visitors often know which habitats are active, which routes are easiest, and what has changed recently.
Builds observation confidence
Even if you do not find the exact bird listed, looking in the right habitat helps you practice useful birdwatching habits.
Reports can be out of date
A bird may have moved on by the time you arrive, especially during migration or after a weather change.
Rare birds can distract beginners
Chasing the most unusual name may pull you away from a comfortable route and from easier birds you could enjoy nearby.
When to Ask Staff or Volunteers for Help
Nature center staff and volunteers are used to simple questions. You do not need to sound like an expert. In fact, clear beginner questions often get the most helpful answers.
Try asking, "Which of today's sightings would be easiest from a short walk?" or "Is there a bench near the pond where I might wait quietly?" These questions give the person enough information to suggest something realistic.
If the center also uses eBird or printed checklists, ask whether there is a recent local checklist you can look at. Cornell Lab's work supports everyday bird learning and observation, but your local staff can help translate that broader idea into today's trail conditions.
Simple Mistakes to Avoid
The most common mistake is treating the board like a to-do list. That can make a peaceful visit feel disappointing even when you saw plenty. Another mistake is ignoring comfort limits because a reported bird sounds exciting.
- Do not chase every listing: choose a route that fits your time, energy, and footing.
- Do not assume the bird is still there: use the sighting as a clue, not a guarantee.
- Do not crowd other birdwatchers: give people room at overlooks, benches, and feeder windows.
- Do not ignore common birds: cardinals, chickadees, sparrows, and woodpeckers can teach excellent field skills.
For a broader first-visit mindset, BirdPeep's guide to visiting a wildlife refuge for the first time offers similar advice: start simple, use visitor resources, and let the day unfold at a comfortable pace.
A Simple Sightings Board Checklist
- Read the date first: newer sightings are usually more useful for today's route.
- Look for habitat words: pond, meadow, woods, feeder, overlook, or boardwalk.
- Circle one easy target area in your mind: avoid planning three separate hikes from one board.
- Ask one practical question: focus on comfort, access, and recent activity.
- Record what you actually saw: your own list matters, even if it is shorter than the board.
Frequently Asked Questions
What is a bird sightings board?
It is usually a posted list of birds recently seen at a nature center, refuge, park, or trail area. It may include dates, locations, habitats, or notes from staff and visitors.
Should I try to find every bird on the board?
No. Pick one or two realistic areas and enjoy what you find there. A sightings board is a helpful guide, not a scorecard.
What if I cannot identify the bird I see?
Write down size, shape, colors, behavior, and habitat. A simple description can help staff, a field guide, or an app narrow it down later.
Are old sightings useless?
Not completely. Older notes can teach you what the habitat sometimes attracts, but they are less dependable for planning today's route than recent reports.
Final Thoughts
A bird sightings board is one of the friendliest tools at a nature center because it says, "Here is what people have been noticing lately." You can use that shared knowledge without pressure.
Read the newest notes, match birds to habitats, choose a route your body will enjoy, and leave space for whatever appears. That is the quiet pleasure of birdwatching beyond the backyard: a little preparation, a little patience, and one real sighting at a time.